Cellar Posts Replaced
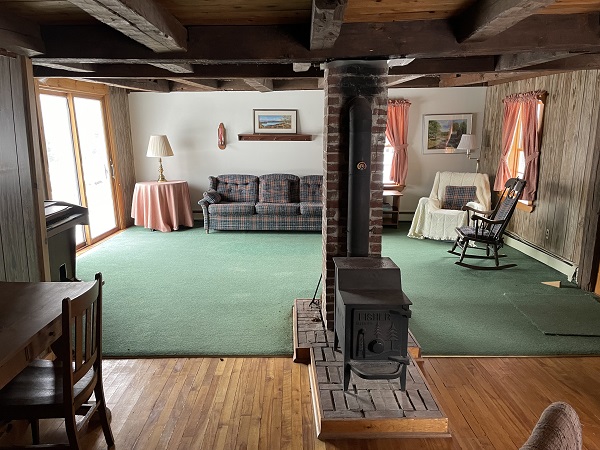
Restoring an old Farmhouse is an ongoing process that never seems to end. Our Oxford, Maine farm was built in three stages. A small two room Farmhouse prior to the 1860s, an addition sometime between 1870 and 1880, and a newer addition in 1976. The living room in this picture (above) is part of the late 1800s addition. The structure in the cellar below that held up the living room needed a lot of work!
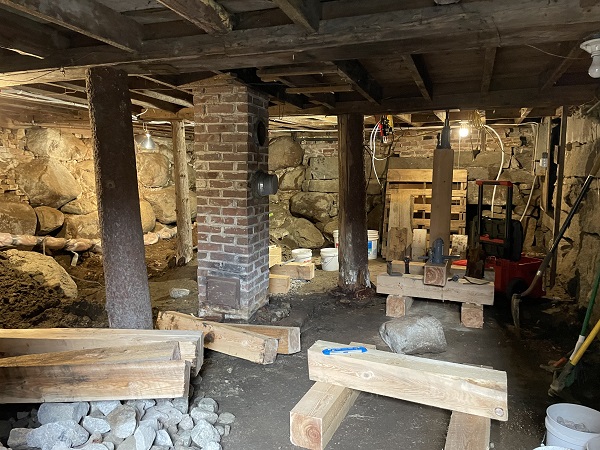
The work begins to replace the old posts in the cellar. Cribbing was set up with temporary posts and bottle jacks to raise the beams so we could pull out the old posts and put in new posts.
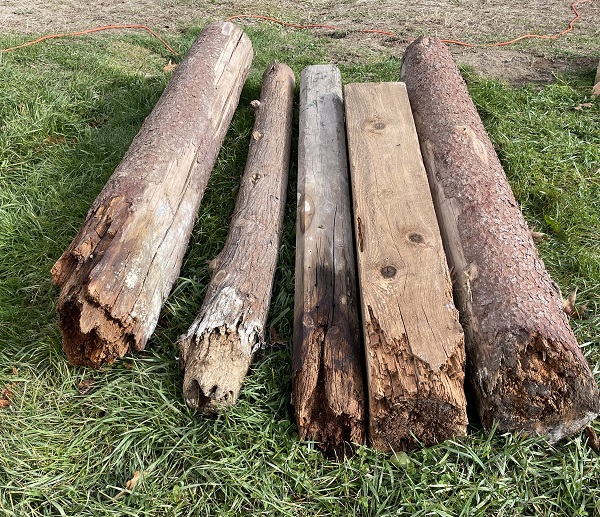
The granite, stone, and brick foundation held up the sills for the Farmhouse. These five posts held up the beams spanning the sills. They certainly were ready to be replaced. You can see the rot on the bottom of the posts where they were in contact with the cellar dirt floor.

We used rip rap as part of the foundation points (footings) for the new posts. We dug into the dirt cellar floor a few feet, put in a layer of rip rap, then crushed stone, more rip rap, and then more crushed stone . . . until above the level of the cellar dirt floor.
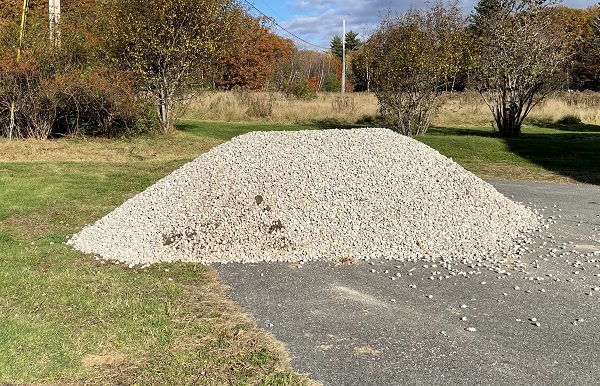
We bought several yards of 3/4 inch crushed stone. This was used, along with the rip rap, for the post footings. When ordering, I used the formula of "P for plenty".
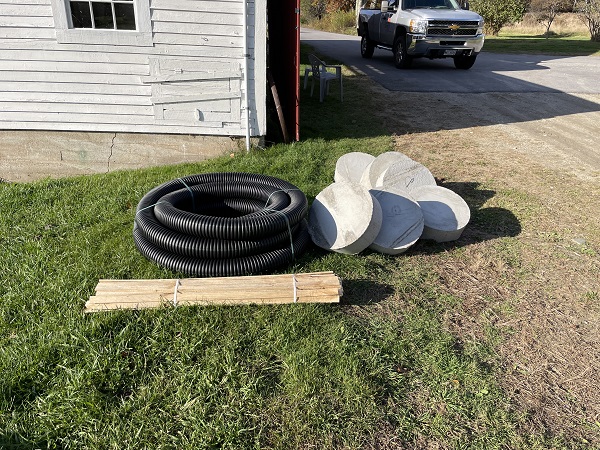
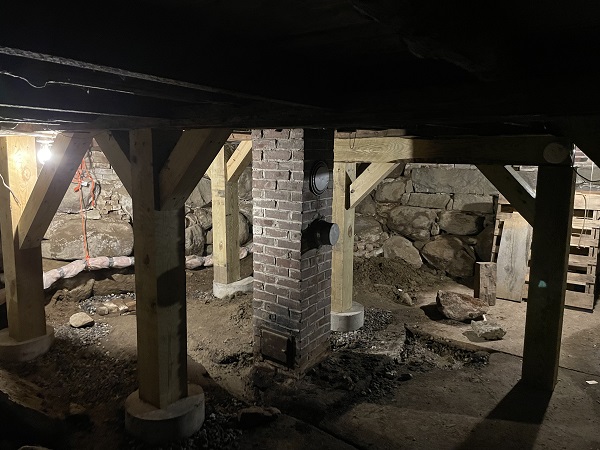
These 18" diameter x 6" thick cement pads were placed on the rip rap and crushed stone footings. The posts were then mounted on these cement pads.
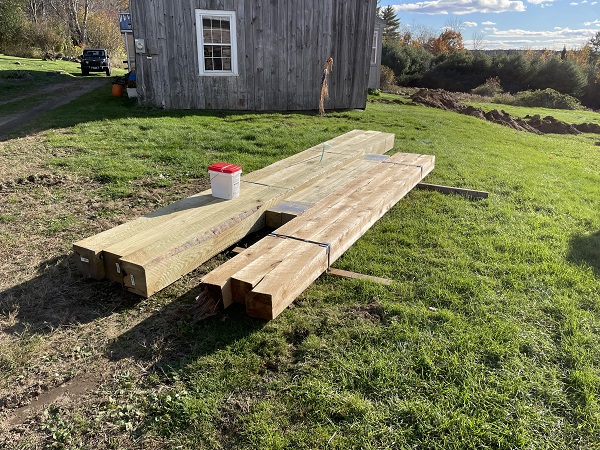
The posts were made from 8" x 8" pressure treated (PT) wood seen on the left. The angle braces, on the right, were from 6" x 6" hemlock. The part of the Farmhouse in this photo is the section we were working on. The dirt piles on the right of the Farmhouse are from an interior French drain that will run from the cellar, underneath the granite foundation, and downhill to the lower pasture.
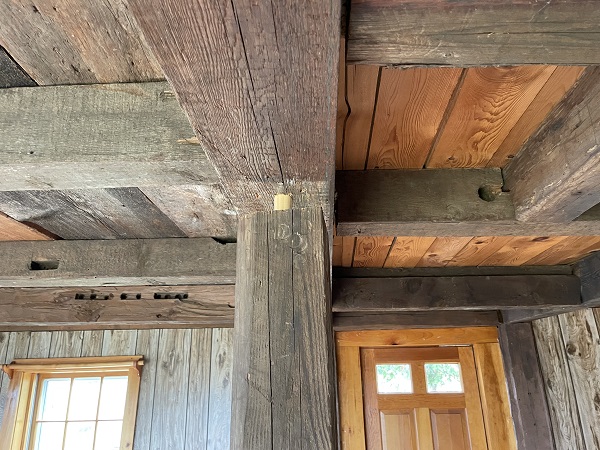
This is the center column post of the living room where it meets the beam supporting the second-floor bedrooms. You can see that the living room floor had settled about 3 inches. We took the post down, drilled two holes - one in the beam and one in the top of the post - and then inserted a dowel to keep it aligned as we raised the living room floor using bottle jacks and temporary posts. Once done raising the floor the top of the post was snug with the beam.
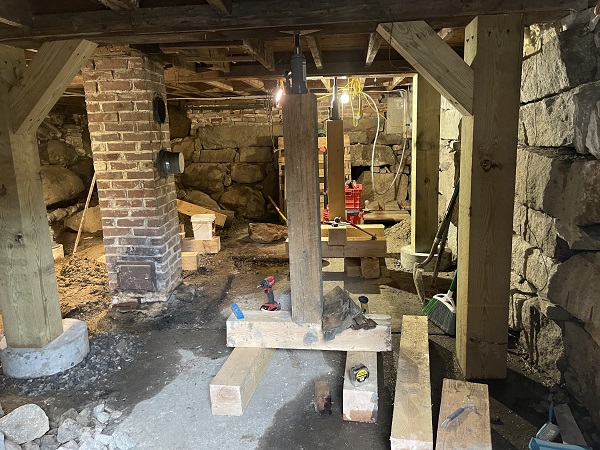
Half way through the project. At this point we had the floor supported
with three permanent posts (new) and temporary posts and bottle jacks.
We used 7 bottle jacks total.
Project complete. The five rotted posts were replaced with seven 8" x 8" PT posts with 6" x 6" angle braces.